What is Rendreal Designer?
RendReal Designer is a free AI design tool that creates print-ready designs from a simple prompt. You can describe your idea, upload images, choose a visual style, or let the AI decide. You do not need design experience to use this tool.
The tool connects directly to Mixam’s ordering system. It sets your design to the correct size, bleed, quiet area, colour profile, and image resolution to ensure your print looks clear and accurate.
You can use it on desktop, tablet, or mobile. After the first design appears, you can update it by entering new requests or editing it yourself. The tool saves your work automatically and updates from your latest version.
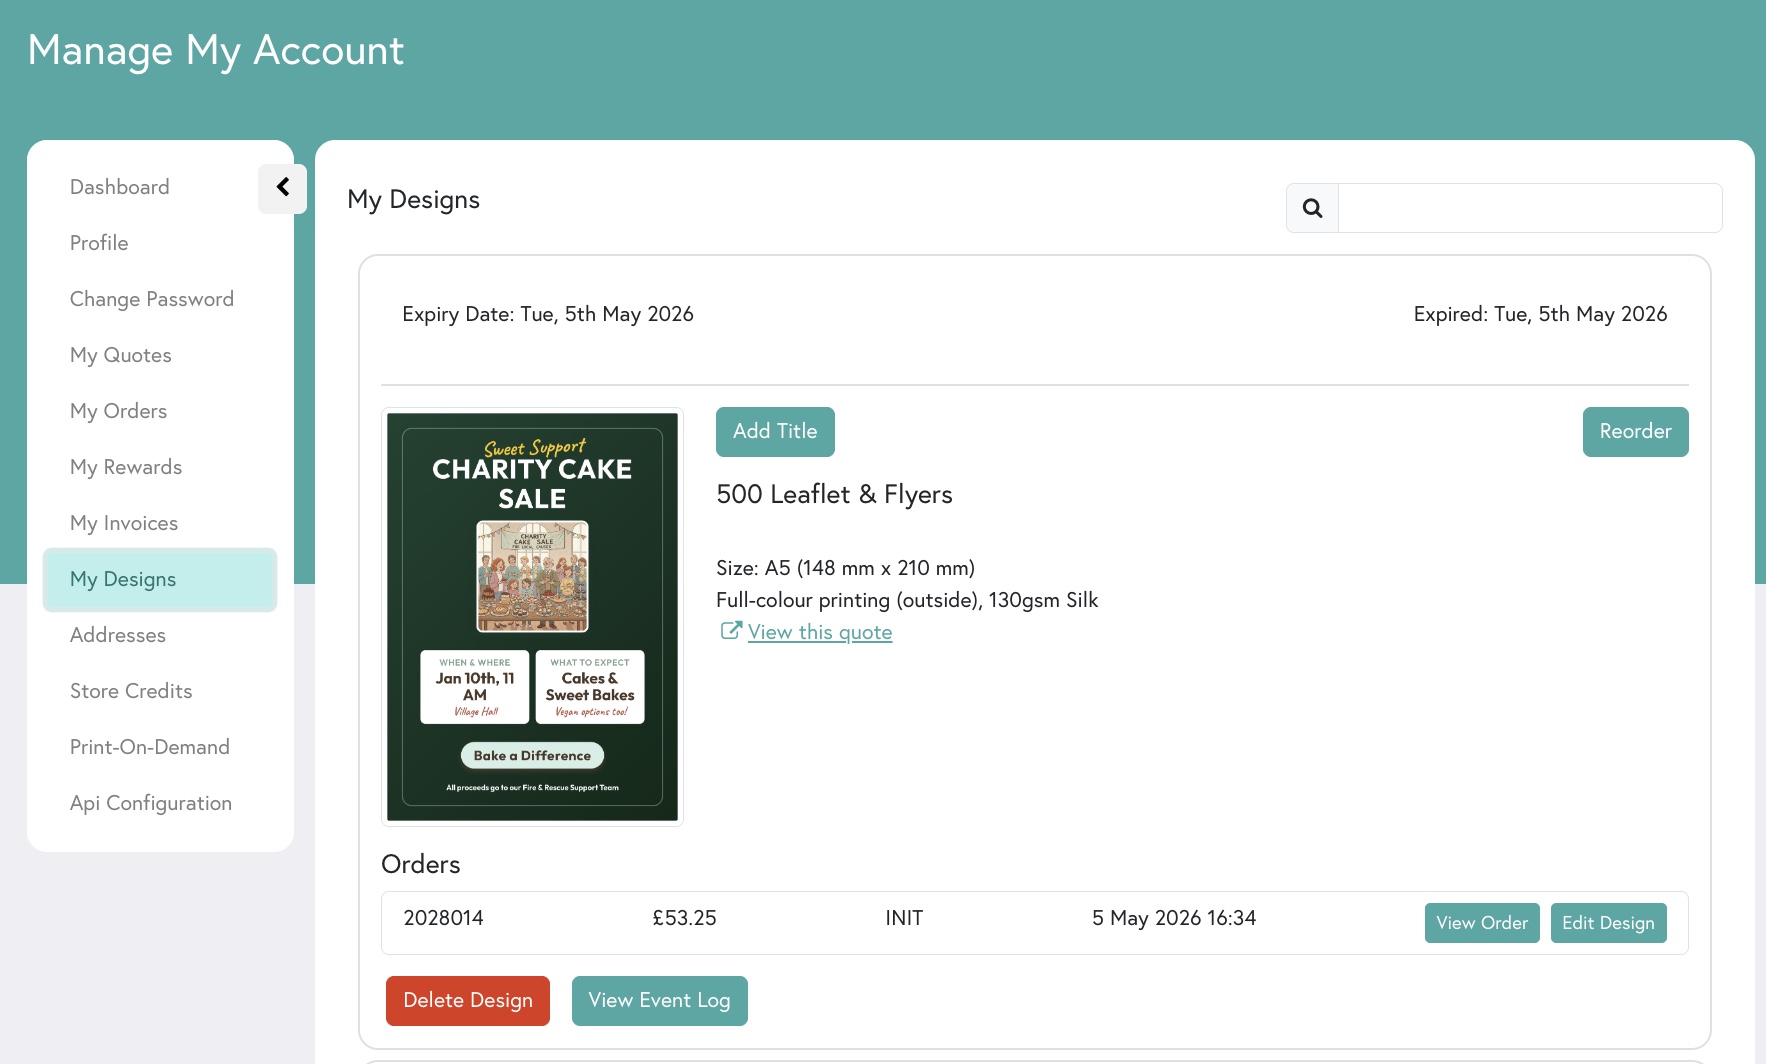
Mixam account holders can return to their design anytime in My Account → Design History, where your chat history is also saved. If you do not have an account, you can access your design from your pending order in your shopping cart.
The tool follows Mixam’s Terms of Use and will not create restricted content. When you approve your design, it saves and moves you to checkout.
Available products:
Rendreal Designer Features
| AI Generation | Editing | Print Setup |
|
|
|
How To Use Rendreal Designer: Step-By-Step Instructions
Step 1: Choose a product: Select All Products or browse from the main menu.
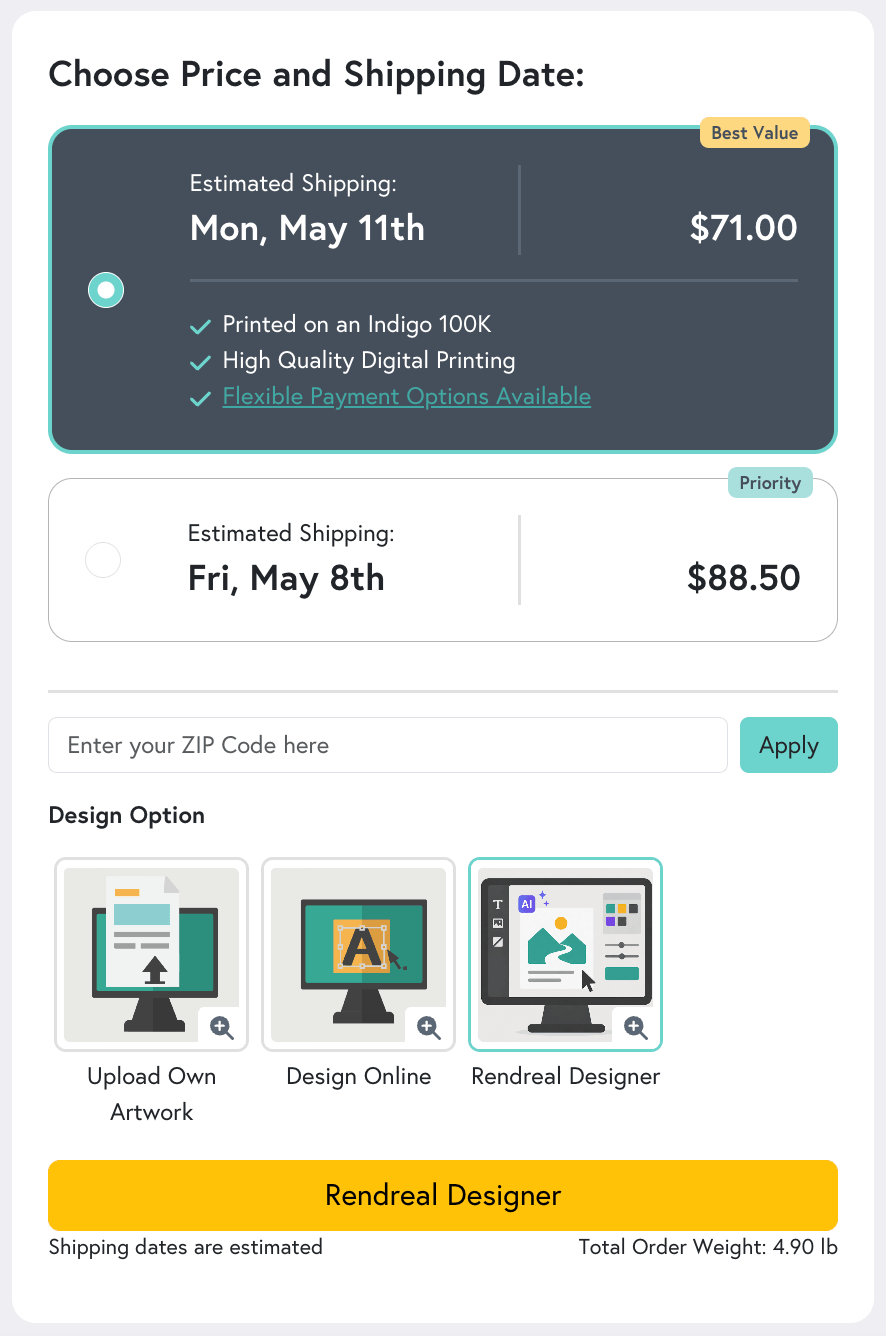
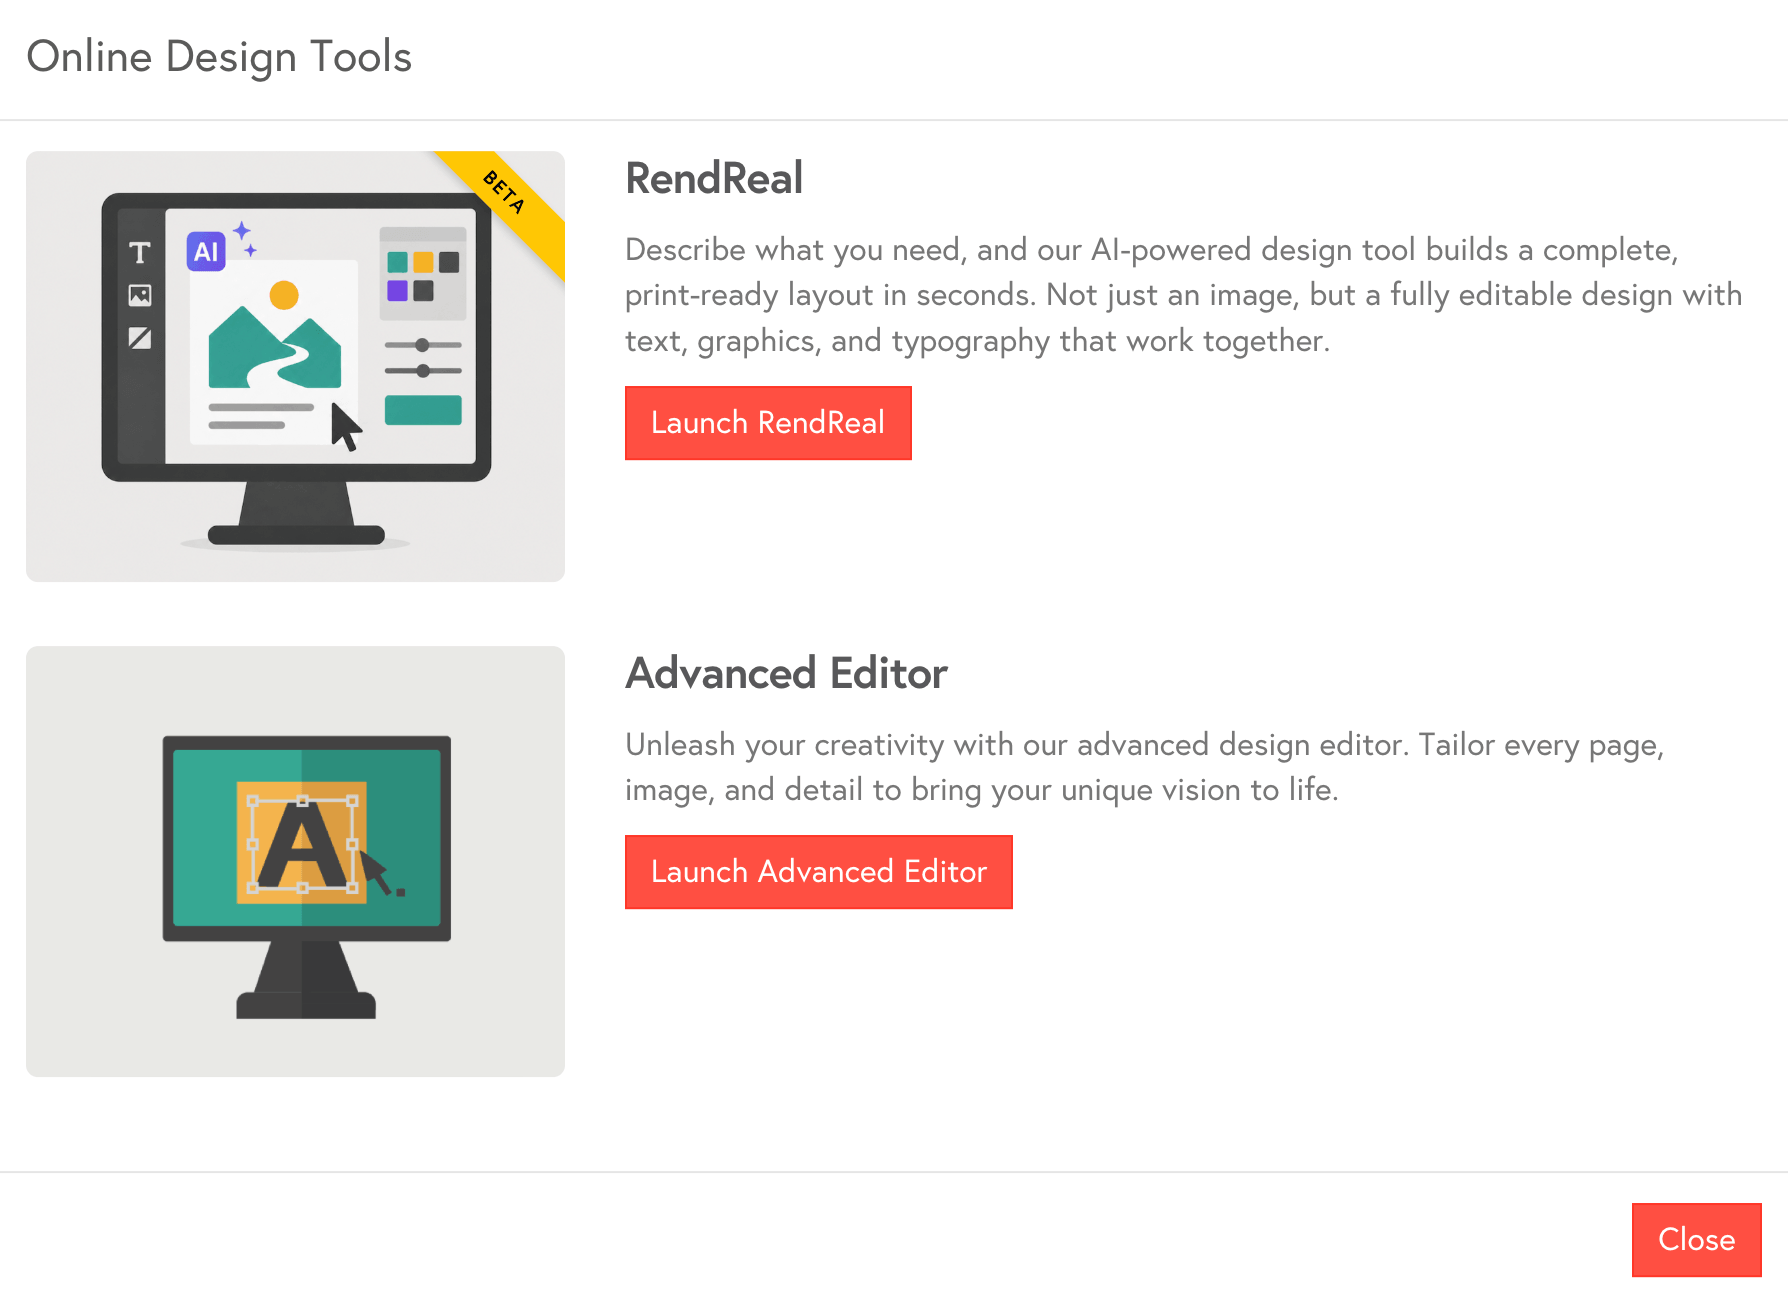
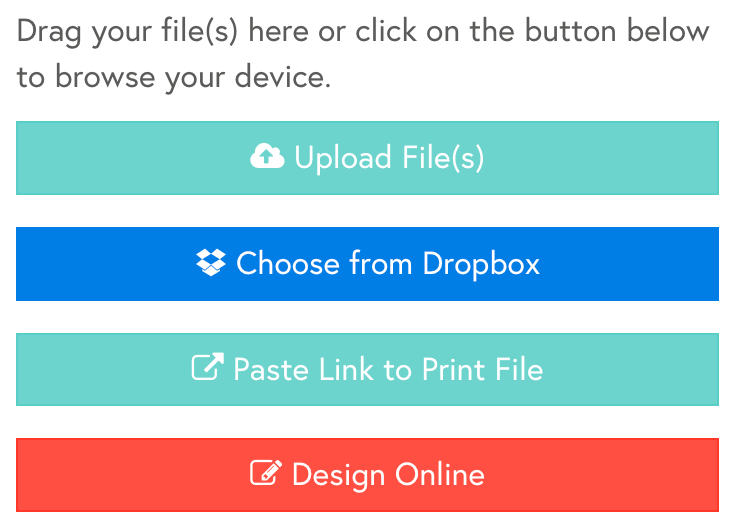
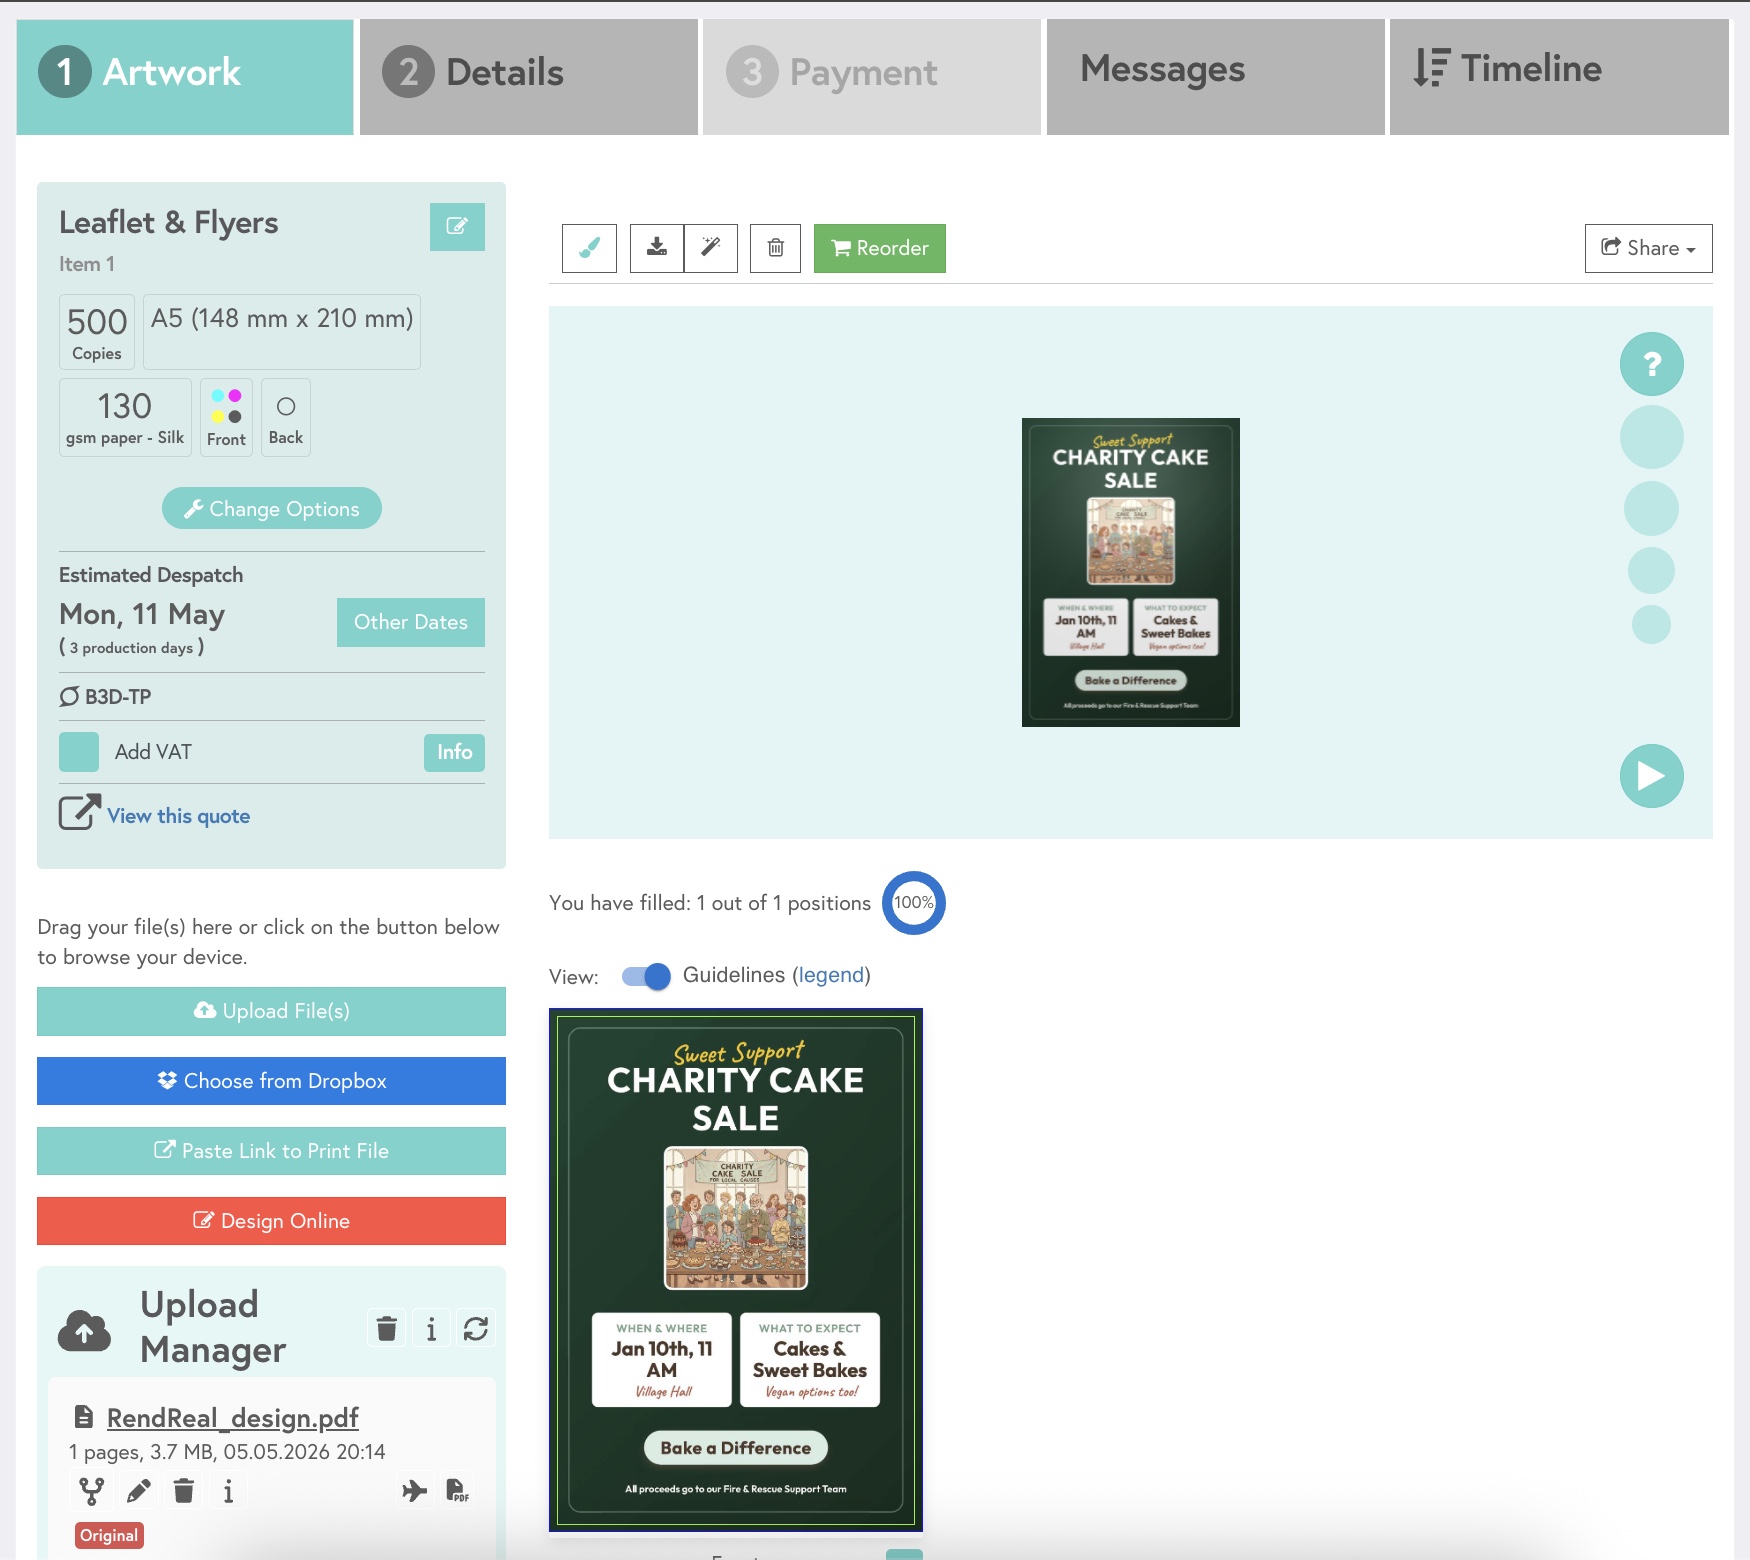
Step 2: Set your specifications: Enter your specifications like quantity, size, and paper in the Instant Quote Calculator. Select Rendreal Designer then select Launch Rendreal to open the editor. Alternatively, add the item to your cart and select Rendreal from the red Design Online button in the Artwork tab.
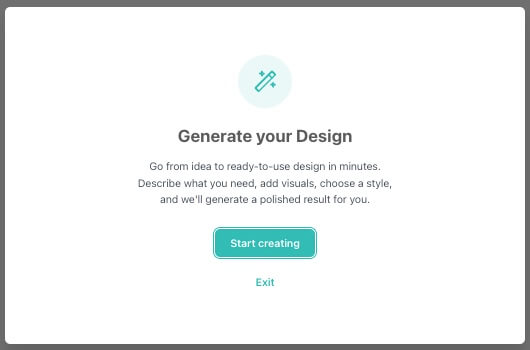
Step 3: Describe your design: Type what you want to create in the text box. Keep it short and clear (e.g. “create a flyer for a restaurant”). Add details like colour, layout, or purpose if needed.
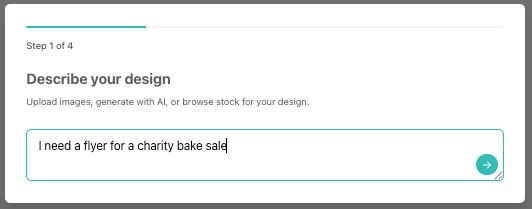
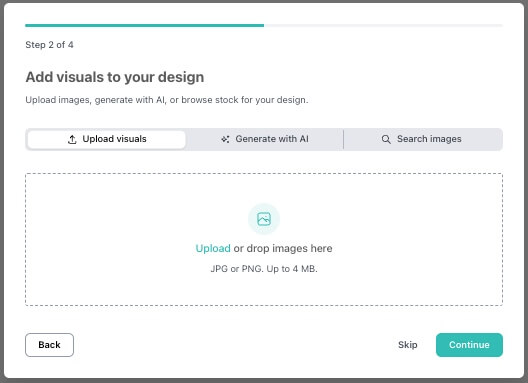
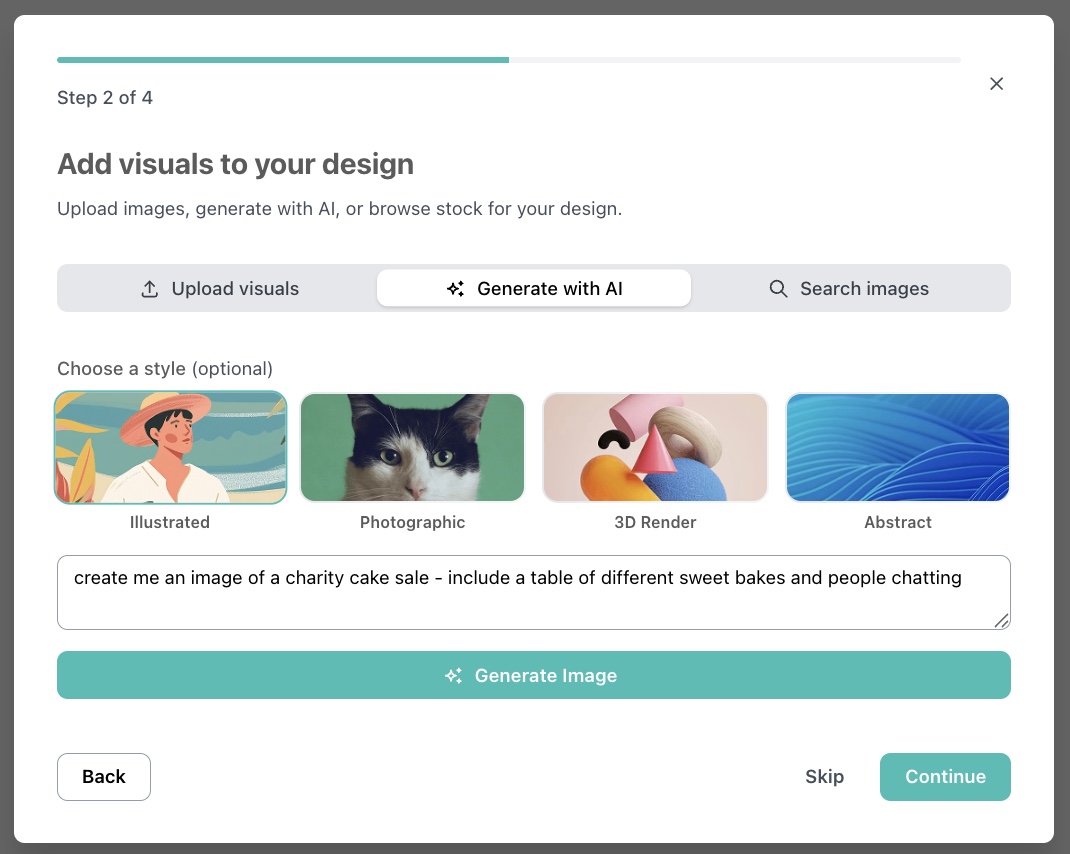
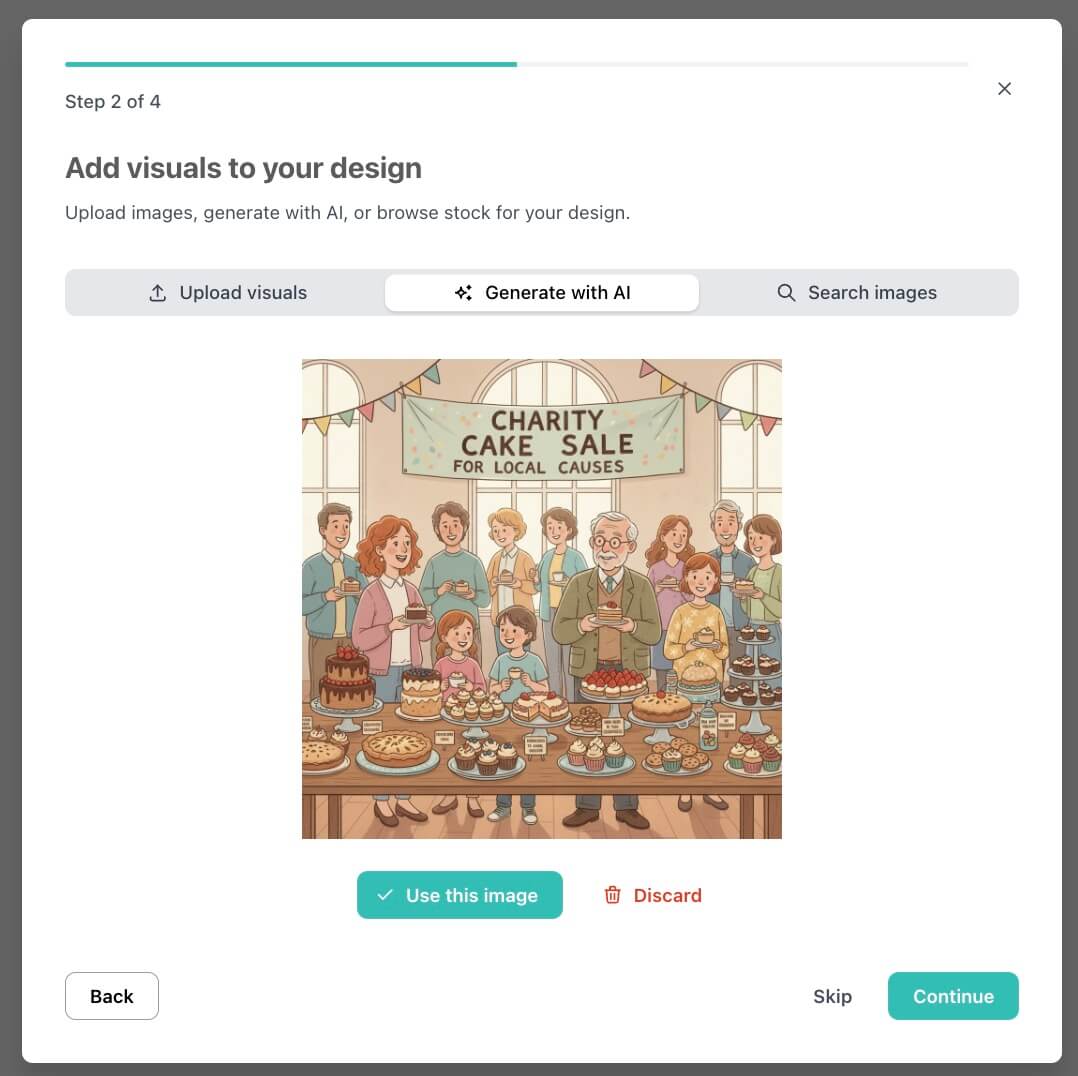
Step 4: Add visuals to your design (optional): Upload or drag-and-drop images, generate images with AI, or search for reference images to guide the design.
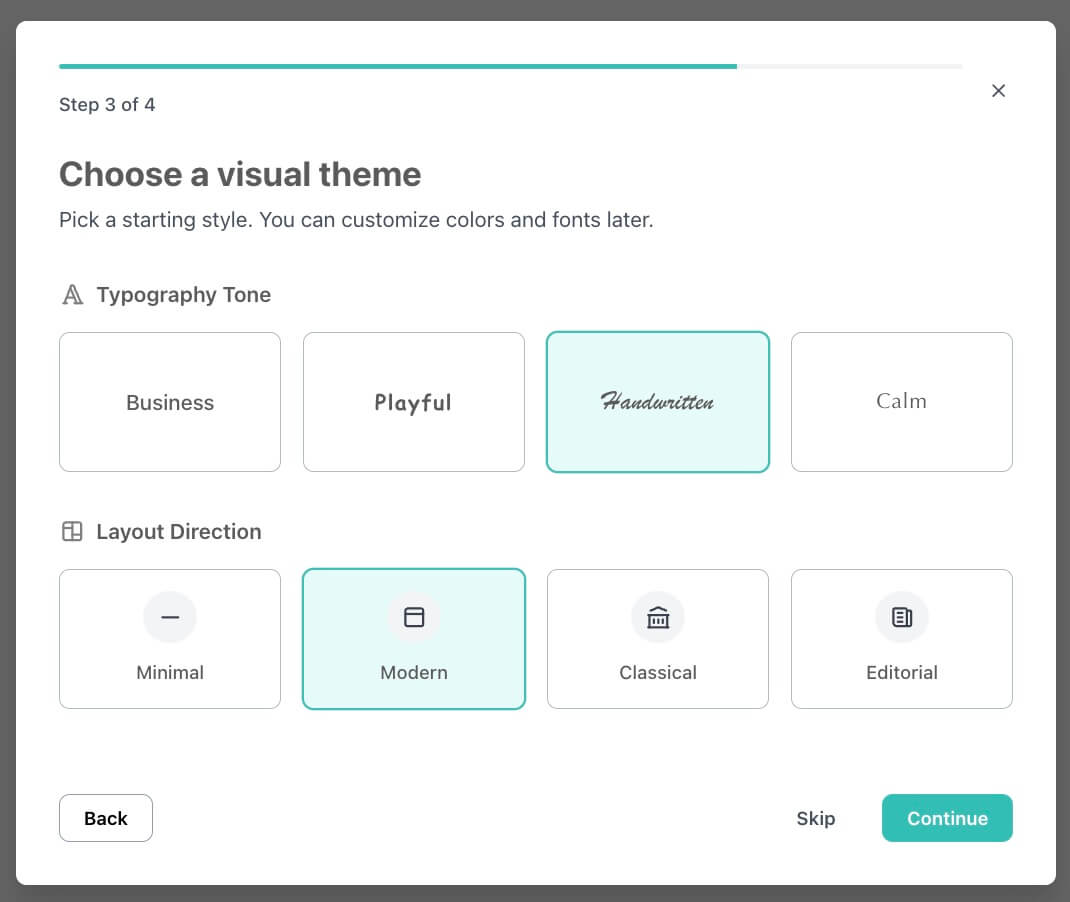
Step 5: Choose a visual theme (optional): Set the graphic style for fonts (e.g. Business, Playful, Handwritten) and layout (e.g. Minimal, Modern, Classic).
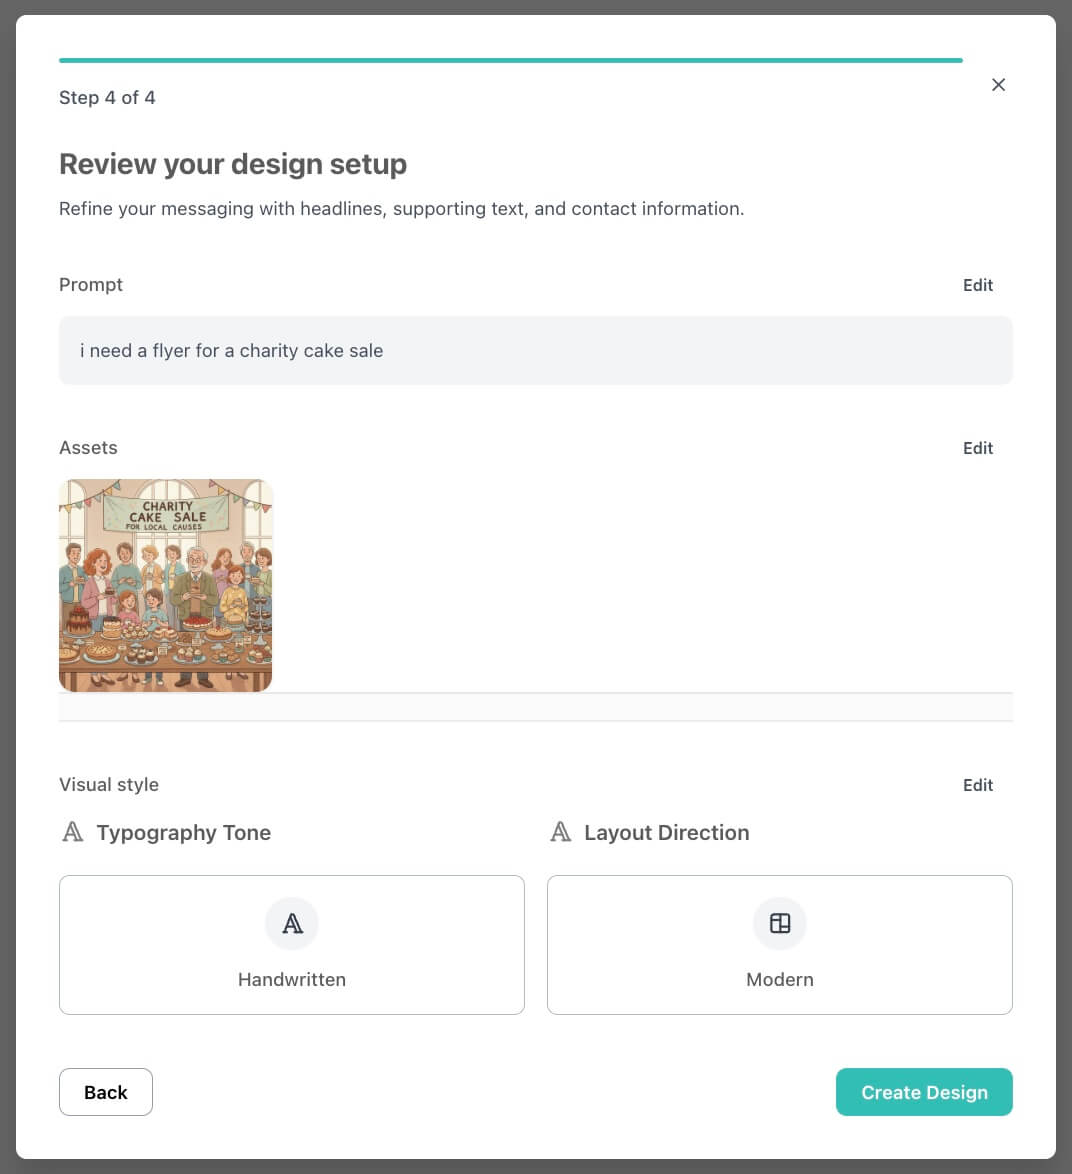
Step 6: Review design setup and get your first design: Check your prompt and click Create Design. The tool generates a print-ready design. A canvas appears with a chat panel on the right.

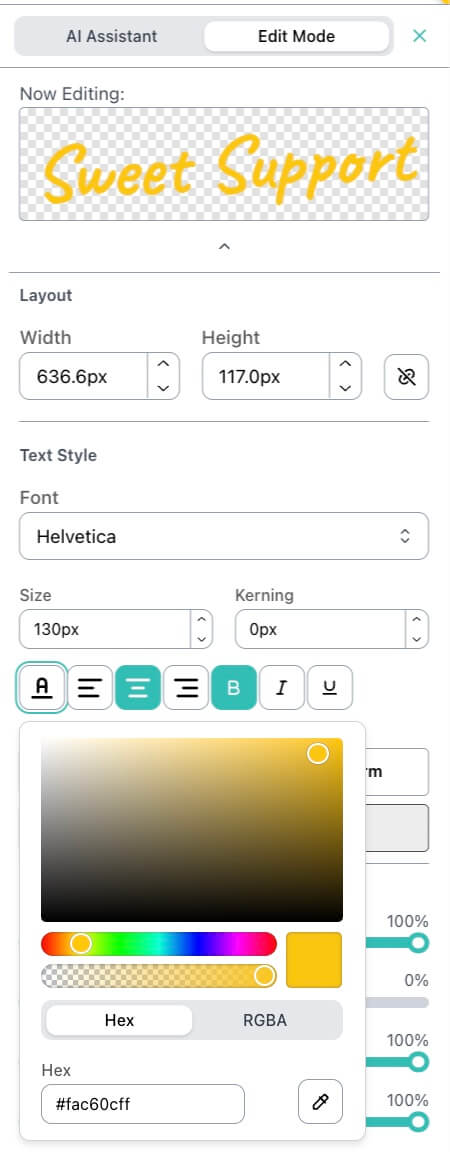
Step 7: Refine your design (optional): Improve your design by entering requests in the chat, editing elements directly on the canvas and selecting Edit Mode, or combining both methods.
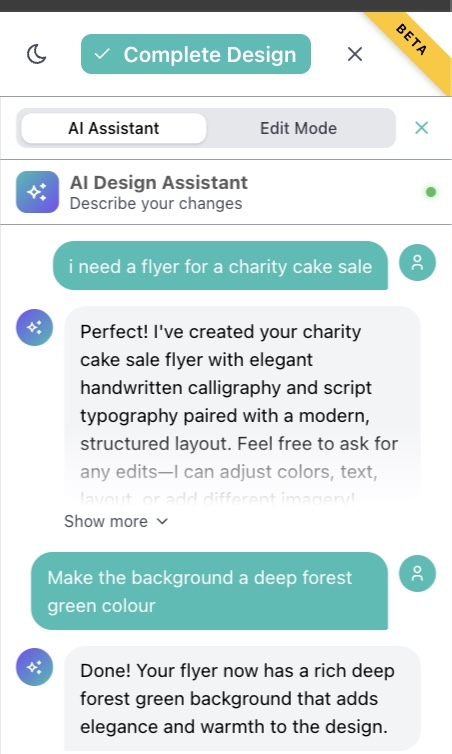
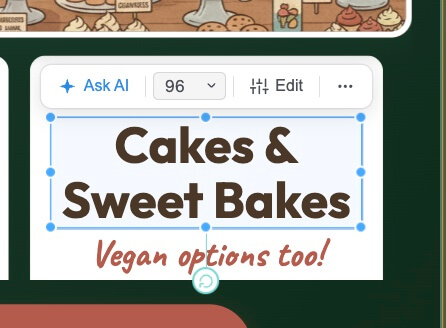

Step 8: Approve and Order: Preview your design and click Complete Design to confirm. You will move to checkout to enter billing and delivery details. We convert your design into a print-ready PDF, and a print expert will review your file before production.
Frequently Asked Questions
Can I edit my design after I order?
No. After you confirm your order, the design is locked. You can reorder and edit it as a new order from Design History.
What should I do if the tool does not follow my prompt?
Use shorter and clearer instructions. Focus on key details like colour, layout, and text. Try again with fewer words and more specific terms.
I’m an account holder. How do I find my saved design?
Log in and go to My Account → Design History.